

Blog
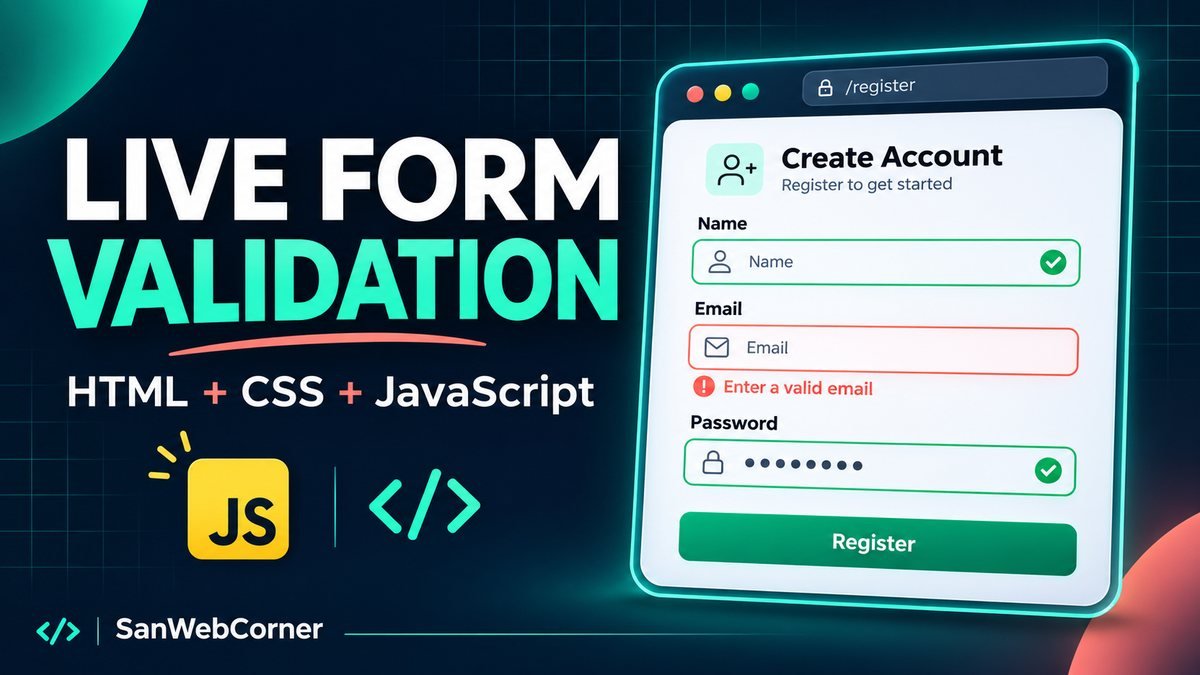

Live JavaScript form validation checks an input while a visitor completes a form and shows a useful message near that field. Use HTML input types and constraints for basic rules, listen for input and blur events for feedback, and validate every field again when the form is submitted.
This tutorial builds a responsive form with name, email, password, and password confirmation. It includes inline errors, a valid-field counter, keyboard-friendly controls, and a complete downloadable project using plain HTML, CSS, and JavaScript.
What does this live validation example check?
| Field | Rule used in this demo |
|---|---|
| Name | Required; up to 80 Unicode characters after trimming. Accents and punctuation are accepted. |
| Required; at most 254 characters; must pass the browser’s email syntax check. | |
| Password | 15–128 Unicode characters; spaces are allowed and no character mixture is required. |
| Confirmation | Must exactly match the password. |
These are this example’s rules. An email format check does not prove an inbox exists, and a password length check does not prove a password is secure.
Try the live JavaScript validation demo
Leave a field to see its first result. After that, its feedback updates as you edit. Use Fill sample values to try a complete example, or submit an empty form to see how the first error receives focus.
Check as you go
0 of 4 fields ready
Use sample values only. This demo checks your input locally; it does not send or save it.
Ready. Feedback appears after you leave a field, then updates as you edit.
Enable JavaScript for this interactive validation demo. No account is created.
1. Add labels, input types, and error containers
Each input needs a visible label and a stable place for its feedback. Connect the hint and feedback to the input with aria-describedby. The email field uses type="email" so the browser can check its syntax.
<label for="email">Email (required)</label>
<input id="email" type="email" required autocomplete="email"
       aria-describedby="email-hint email-feedback">
<p id="email-hint">Use a sample address such as avery@example.com.</p>
<p id="email-feedback" aria-live="polite"></p>
The downloadable demo omits input names and prevents submission because it has no server. A real application should supply the names and backend needed for its own data flow.
2. Define clear validation rules
Keep a function that returns a readable error or an empty string. For email, read validity.typeMismatch instead of maintaining a complicated regular expression. MDN’s Constraint Validation guide explains the browser’s built-in checks.
function emailError(field) {
  if (!field.value.trim()) return 'Enter an email address.';
  if (field.validity.typeMismatch) {
    return 'Enter an email address such as avery@example.com.';
  }
  return '';
}
For names, avoid an English-letters-only pattern. It can reject valid names with accents, spaces, apostrophes, or non-Latin scripts. This demo checks only whether the trimmed value is present and within its documented length limit.
The password example counts Unicode code points with Array.from(value).length and compares confirmation without trimming either password. Its 15-character minimum and absence of composition rules follow the direction of NIST’s current single-factor password guidance. Production authentication also needs controls beyond this form, including compromised-password screening and secure storage.
3. Validate on input and blur, not just keyup
The input event handles value edits such as typing and pasting. This demo also listens for change. Waiting until a field has been visited before showing errors gives the visitor time to enter a value; subsequent edits update its feedback immediately.
const touched = new Set();
field.addEventListener('blur', () => {
  touched.add(field);
  renderFeedback(field);
});
field.addEventListener('input', () => {
  if (touched.has(field)) renderFeedback(field);
});
When the password changes, recheck an already-visited confirmation field too. Otherwise, confirmation can keep a stale “valid” message after the two values stop matching.
4. Show errors with text and accessible state
Set aria-invalid="true" when a checked field has an error and use a specific message that tells the visitor how to fix it. Do not rely only on a red border. Before a field has been evaluated, this example leaves the invalid state unset.
const problem = validate(field);
field.setAttribute('aria-invalid', String(Boolean(problem)));
feedback.textContent = problem ? 'Error: ' + problem : '✓ Looks valid.';
Use textContent for feedback, keep message containers in the document, and reserve a polite status region for form-level results. W3C’s form notification guidance describes connecting messages to their fields and informing users of errors.
5. Check the whole form on submit
Live feedback helps visitors make corrections, but submission must still evaluate every field. Keep the submit button available so people can ask the form to check their input. On failure, show a short summary and focus the first invalid control.
form.addEventListener('submit', event => {
  event.preventDefault(); // Local demonstration only.
  const invalid = fields.filter(field => validate(field));
  if (invalid.length) {
    status.textContent = 'Please fix ' + invalid.length + ' fields.';
    invalid[0].focus();
    return;
  }
  status.textContent = 'Demo validated. Nothing was submitted.';
});
The complete source also marks every field as checked and refreshes inline messages before focusing the first problem. The snippets above illustrate the steps; the ZIP contains the integrated implementation.
Client-side validation and server-side validation
Client-side validation runs in the visitor’s browser and improves feedback. Server-side validation checks received data in your application and remains necessary because browser checks can be bypassed. MDN’s client-side validation tutorial explains this distinction.
This example does not create an account, send email, store a password, or implement authentication. Its success message means only that the inputs passed the demo’s rules.
Download and customize the example
Extract the ZIP and open index.html. The project includes style.css, script.js, and a README; no framework or build command is required. Adjust the rules and messages together so the visible hints always match the actual checks.
Frequently asked questions
How do I validate a form in real time with JavaScript?
Listen for input changes, evaluate the field against its rules, and update a nearby message. Use blur to decide when to show the first error, and check all fields again on submit.
Should I use input or keyup for validation?
Use input for value changes rather than relying only on keyboard events. This demo also handles change and blur, then validates again on submission.
Can JavaScript confirm that an email address exists?
No. A browser email check evaluates syntax. Confirming access to an inbox requires a verification flow, typically a server-sent link or code.
Why does password confirmation become invalid after editing the password?
The values must match exactly. Revalidate confirmation when either password field changes so its message reflects the current values.
Can frontend validation replace backend validation?
No. Treat frontend checks as a usability layer and independently validate submitted data on the server.
Conclusion
Effective live form validation combines clear rules, well-timed feedback, accessible error messages, and a final submission check. Start with the browser’s built-in input behavior, add JavaScript for your form’s relationships, and keep production server validation separate.