

Blog
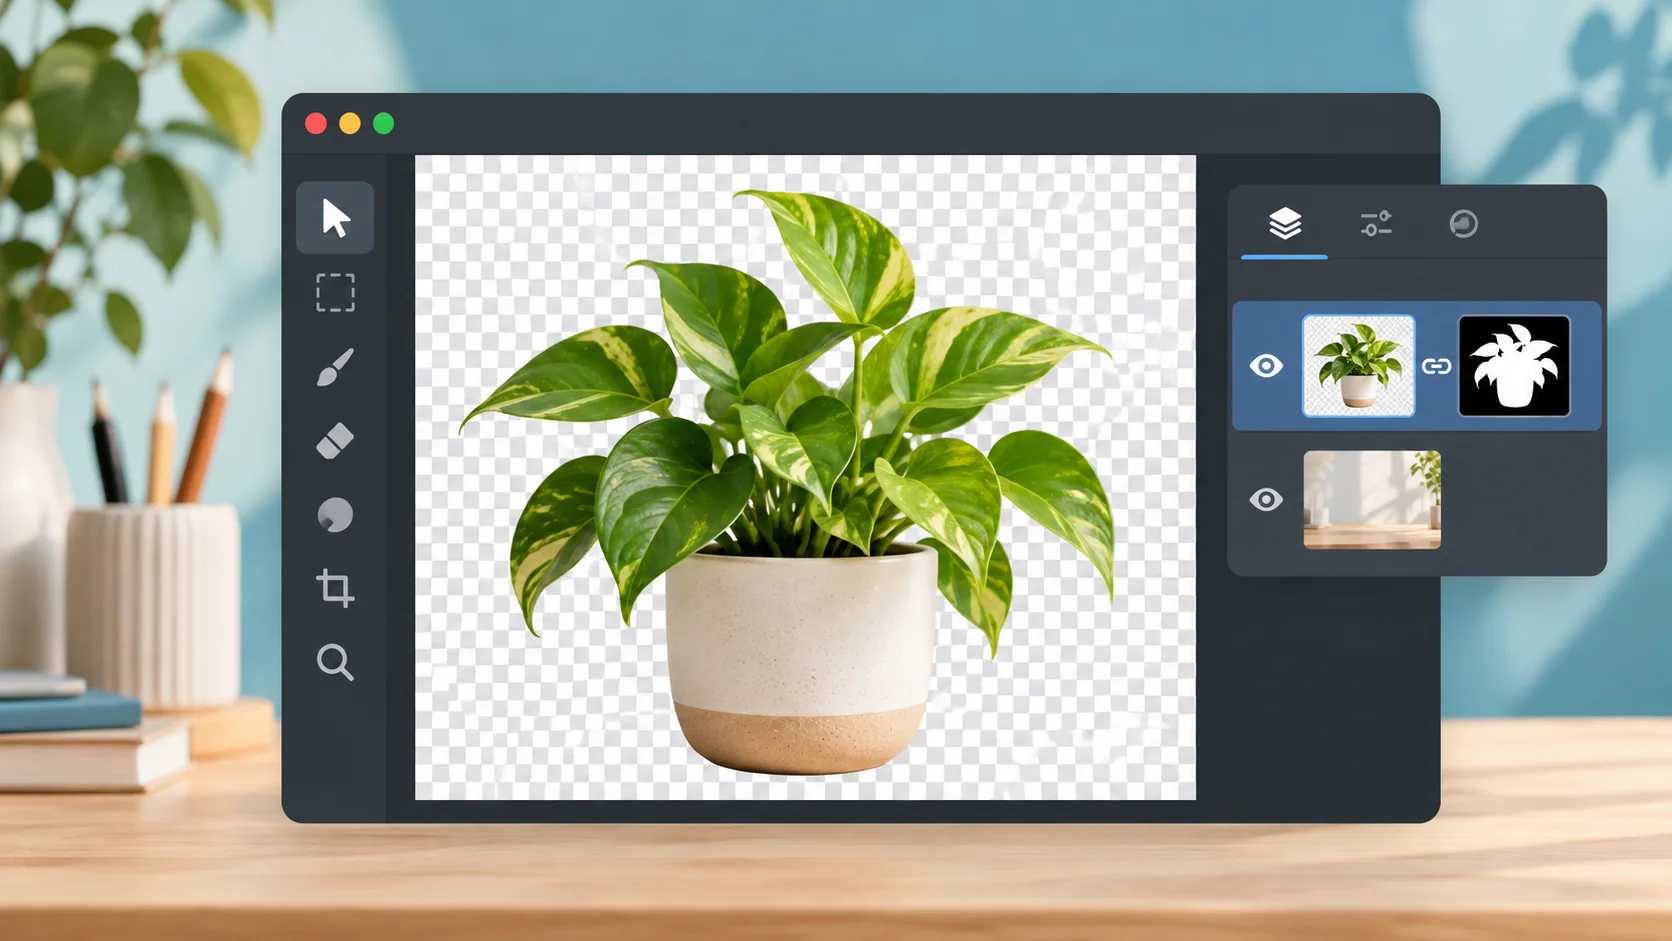

Remove a Background in Photoshop with Quick Action
Photoshop’s Remove Background Quick Action can isolate a subject in a few steps and leave the result ready for a new background or a transparent export. This guide uses the current desktop workflow and explains how to refine the layer mask when automatic selection misses fine edges.
Quick answer: Open the image, select and unlock the subject layer, then open the Discover panel and choose Browse → Quick Actions → Remove Background. Photoshop separates the subject from its background. Review the mask before exporting, especially around hair, leaves, glass, and other detailed edges.
What Photoshop’s Remove Background Quick Action does
The Quick Action identifies the main subject and removes or masks the surrounding background. Depending on the layer and Photoshop version, the result may appear as transparency or as a layer mask. A mask keeps the original image data available, so you can refine the edge or restore parts of the background without starting over.
The automatic result is a starting point. Busy backgrounds, low contrast, motion blur, transparent objects, and fine strands can make the selection less accurate.
How to remove a background with Quick Actions
1. Open the image and prepare its layer
Open the image in Photoshop and select the layer that contains the subject in the Layers panel. If it is locked as a Background layer, unlock or duplicate it so the result can be edited separately. Keep an untouched copy before making changes.
2. Find Remove Background
Open the Discover panel with the search icon in the workspace, or use Help → Photoshop Help. Choose Browse → Quick Actions, then select Remove Background. Photoshop processes the selected layer and isolates the subject.
3. Inspect the layer mask
Zoom in around the subject’s outline. Check hair, leaves, straps, fur, and gaps between limbs or objects. If Photoshop created a mask, select its thumbnail in the Layers panel. Paint with a soft brush: white reveals the layer and black conceals it. Use a small brush near detailed edges and a larger brush for broad corrections.
4. Refine difficult edges
For a rough or uneven selection, open Select → Select and Mask to refine the boundary. Adjust the edge carefully and inspect the result against both a light and a dark temporary background. This makes leftover halos and missing details easier to spot.
5. Add a background or export transparency
To replace the background, place a new image or color layer beneath the subject layer. To preserve transparency, hide or remove the background layer and export to a format that supports transparency, such as PNG. Keep the layered Photoshop document if you may need to adjust the mask later.
Tips for cleaner background removal
- Choose a source image with clear contrast between the subject and background.
- Work on a duplicate or masked layer so the original remains available.
- Inspect edges at 100% zoom, then zoom out to judge the overall cutout.
- Use a temporary contrasting layer behind the subject to reveal light or dark halos.
- For a different layer, select it first and refresh or rerun the Quick Action in Discover.
Common problems
Remove Background is not listed
Open Discover and check the Quick Actions list. Confirm that the intended image layer is selected and unlocked. Photoshop’s panel names and layout can vary between versions; Adobe’s current instructions are linked above.
The cutout has a halo
Refine the layer mask around the affected edge and preview it against a contrasting background. A halo often means the selection includes pixels from the original background.
Part of the subject disappeared
Paint white on the layer mask over the missing area to reveal it. If you paint on the mask by mistake, switch to black to conceal that part again. Avoid erasing pixels when a mask is available.
Frequently asked questions
Does Remove Background permanently erase the original image?
Photoshop may create a mask or transparency depending on the selected layer and version. When a mask is available, it is editable; keep an untouched layer for a reversible workflow.
Can Quick Action remove every background perfectly?
No. Automatic selection works best when the subject is distinct from the background. Fine hair, low contrast, motion blur, and transparent materials usually need manual refinement.
Which file format keeps a transparent background?
PNG supports transparency for common web and design workflows. Keep a layered PSD as well when you need to preserve the mask and continue editing.
Summary
Use Photoshop’s Discover panel to run Browse → Quick Actions → Remove Background on the selected subject layer. Review the mask, refine difficult edges, and export as PNG when you need transparency. For version-specific steps, see Adobe’s Remove Background guide.