

In the below example i used to add the text box, here when you click the “Add New Fields” button it gives additional text field and also you can delete the text field using delete button in the right hand side. and also you can fix the maximum limits for your dynamically generate text boxes. Here i fixed the maximum 10 input fields, when you reached the limits you will get the alert message like “You Reached the limits”.
This is also one of the simple method to create and remove input fields according to the user requirement, Go to the demo section you can able to view the result of this code. I hope this post is very helpful to you.
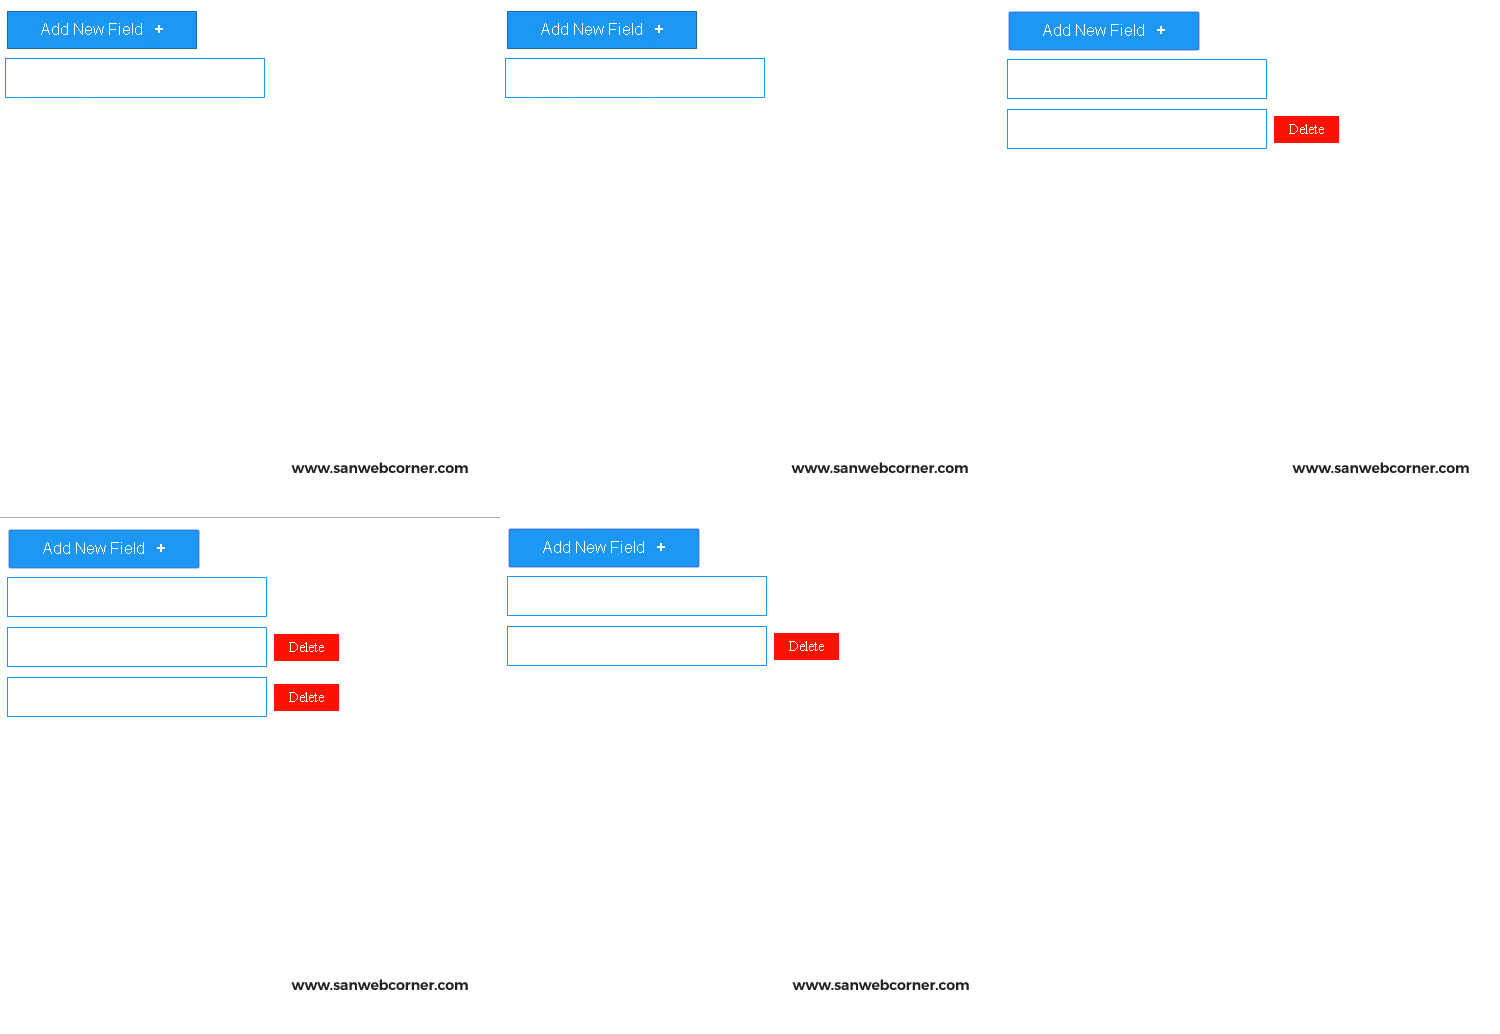
Css code for Dynamically Generate Form fields:
padding:5px 0px;
margin:5px 5px 5px 0px;
}
.add_form_field
{
background-color: #1c97f3;
border: none;
color: white;
padding: 8px 32px;
text-align: center;
text-decoration: none;
display: inline-block;
font-size: 16px;
margin: 4px 2px;
cursor: pointer;
border:1px solid #186dad;
}
input{
border: 1px solid #1c97f3;
width: 260px;
height: 40px;
margin-bottom:14px;
}
.delete{
background-color: #fd1200;
border: none;
color: white;
padding: 5px 15px;
text-align: center;
text-decoration: none;
display: inline-block;
font-size: 14px;
margin: 4px 2px;
cursor: pointer;
}
Javascript for Dynamically Generate Form-Fields:
<script>
$(document).ready(function() {
var max_fields = 10;
var wrapper = $(“.container1”);
var add_button = $(“.add_form_field”);
var x = 1;
$(add_button).click(function(e){
e.preventDefault();
if(x < max_fields){
x++;
$(wrapper).append(‘<div><input type=”text” name=”mytext[]”/><a href=”#” class=”delete”>Delete</a></div>’); //add input box
}
else
{
alert(‘You Reached the limits’)
}
});
$(wrapper).on(“click”,”.delete”, function(e){
e.preventDefault(); $(this).parent(‘div’).remove(); x–;
})
});
</script>
Html for Dynamically Generate Form-Fields:
<button class=”add_form_field”>Add New Field <span style=”font-size:16px; font-weight:bold;”>+ </span></button>
<div><input type=”text” name=”mytext[]”></div>
</div>